
Printing
If you want to print physical cards, either with a home printer or a professional printing company, then you should know that even in 2025, printers are not perfect. This is primarily due to slight paper movement that can happen in the printing process.
Paper movement: Paper moving inside the printer affects where the print will land.
Cut movement: Paper moving inside the guillotine affects the final cut position.
Foil movement: Paper moving inside the foil machine affects the foil position.
These are common issues, even for professional printing companies. Printers may also not print the measurements in Card Engine exact, so you might need to adjust the card size if your home printer is not printing at the correct size.
Luckily, there are some industry standards to combat these issues, and they have also been incorporated into Card Engine:
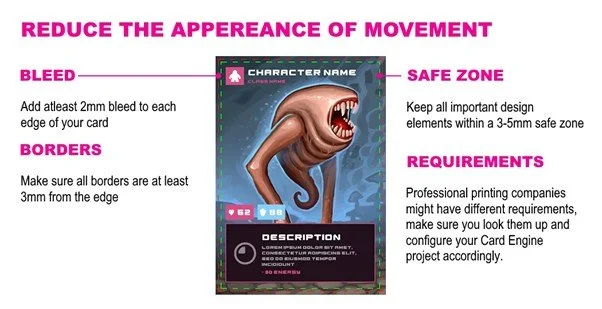
Adding bleed: This involves supplying extra space around the edges of the card that will be used as a safety net, for if the guillotine cut was to be out, you wouldn’t be left with a white line running along the edge of your final cut prints.
Using a safe zone: A safe margin prevents parts of your designs from falling too close to the edges. Keeping important elements (like text and borders) away from the edges reduces the risk of those elements being cut off.
To configure bleed and safe zones in Card Engine, open the card editor then click the configuration button in the top-left to open the editor config menu. There you can set the bleed and safe zone to the requirements of the printing company or recommended minimum of 2 mm bleed.
These bleed and safe zone lines are disabled if their value is set to 0, and the lines support snap to edge functionality. Note: Keep in mind that setting bleed and safe zones does not increase the project card size. If you have set a 63.5 x 88.9mm card size for your project, and then add a 5mm safe zone, your actual design area will be 58.5 x 83.9mm. So, treat these as guidelines.